SonarQube configuration tutorial
05 Feb 2016 on csharp javascriptThis post will be a simple tutorial to install, configure and use SonarQube to analyse your project code quality. This tutorial will be directed to C# and JavaScript projects in a Windows environment.
2- Create a SQL Server database
Run the following command:
CREATE DATABASE SonarQube;Just after this command the collation from the recently created database needs to be changed as recommended in the SonarQube website:
ALTER DATABASE SonarQube COLLATE SQL_Latin1_General_CP1_CS_AS;If you want to see the current database collation run:
SELECT CONVERT (varchar, SERVERPROPERTY('collation'));3- Change the <sonar_directory>/conf/sonar.properties file
In the sonar.properties file you configure a lot of stuff regarding hosting and persisting data from SonarQube. We just going to configure which database SonarQube will connect and in which port will be hosted.
To do that just add the two following lines:
In order to SonarQube successfully connect in the SQL Server database you are going to need to enable the TCP/IP protocol in the database instance you are intending to use. Also make sure that the TCP port being used is the SQL Server default port 1433.
One more detail, if you are using SQL Authentication instead of Windows Authentication you are going to need to add the two following parameters:
4- Start SonarQube
Go to the <sonar_directory>/bin/windows-x86-64 folder (or whatever Windows you are using) and run the StartSonar.bat file.
If everything goes well you are going to see the SonarQube dashboard.
5- Install the C# and JavaScript plugins
In SonarQube login with the default admin/admin user and then follow the steps:
- 5.1 Click in the ‘Administration’ menu;
- 5.2 Click in the ‘System’ menu and then in the ‘Update Center’ submenu;
- 5.3 Click in the ‘Available’ tab and then search for C# and click Install;
- 5.4 Restart SonarQube;
- 5.5 Go back to step 5.3 to install the JavaScript plugin.
6- Create a new SonarQube project
Just follow the steps:
- 6.1 Click in the ‘Administration’ menu (yes, again);
- 6.2 Click in the ‘Projects’ menu and then in the ‘Management’ submenu;
- 6.3 Click in the ‘Create Project’ at the top right of the screen;
- 6.4 Type a name and a key and click ‘Create’.
7- Download the SonarQube Scanner
8- Go to the <sonar_scanner_directory>/conf/sonar-runner.properties and add the two following lines:
9- Add a new environment variable called SONAR_RUNNER_HOME pointing to
the <sonar_scanner_directory>
10- Add <sonar_scanner_directory>/bin to the PATH
11- Add a new file called sonar-project.properties in your Visual Studio solution root folder with the following contents:
12- Move the entire <sonar_scanner_directory> to your solution root folder
13- Run the command sonar-runner in your solution root folder
After a successful SonarQube analysis you are going to see something similar to this:
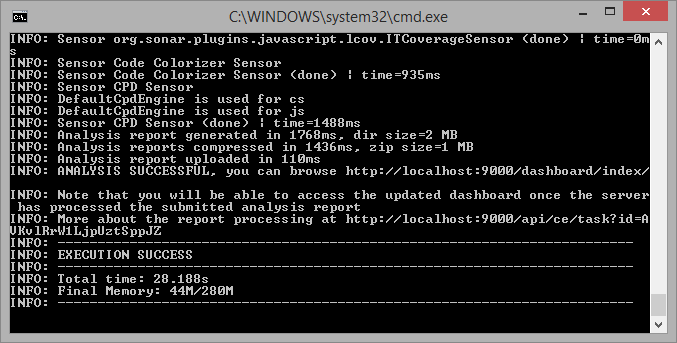
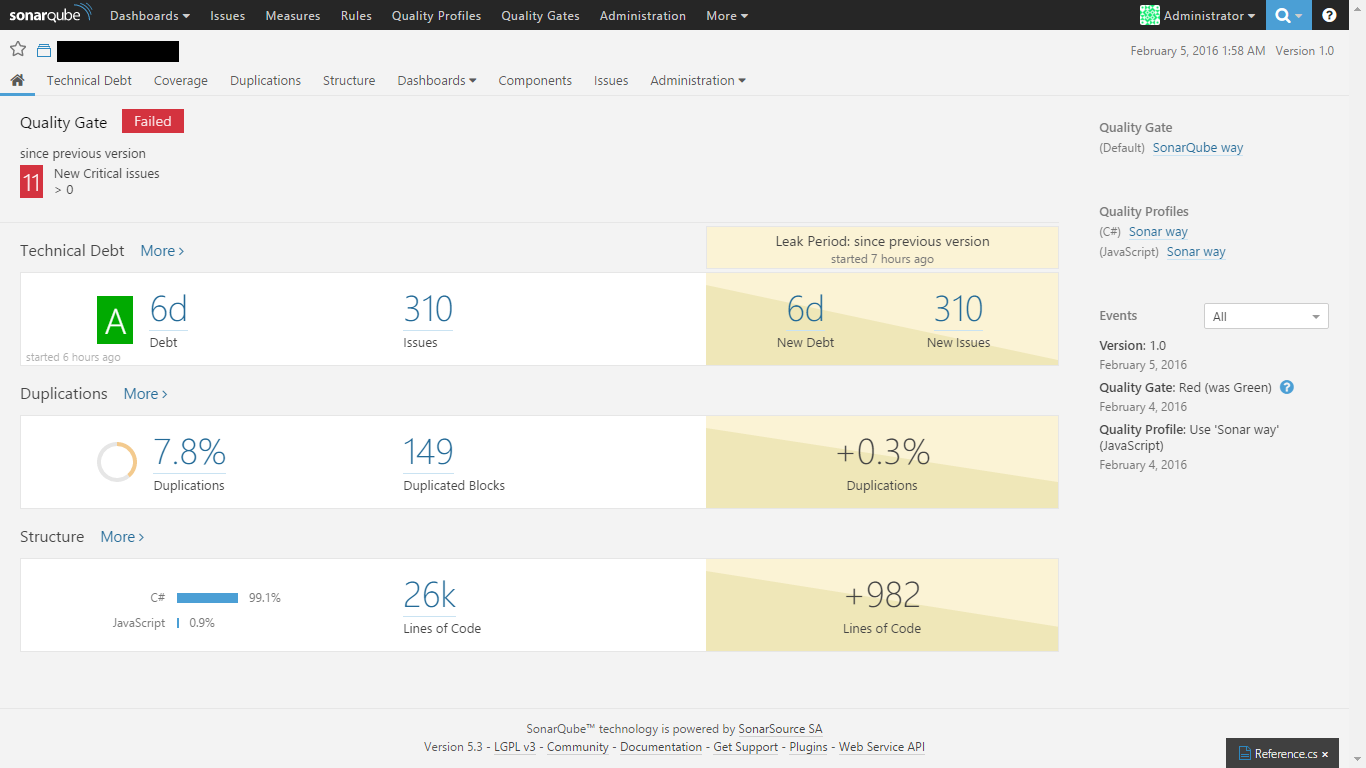
Just go to the indicated link (http://localhost:9000/dashboard/index/YourProject) and then see the SonarQube analysis report.
References