TypeScript + Webpack
01 Jan 2016 on programming javascript typescriptHey, hello! As always, it’s been a long time since I posted. Anyway, probably nobody cares besides me so I just going to straight to the point to be discussed in the post, a simple integration between TypeScript and Webpack.
First of all, this post assumes you already know a little about JavaScript and already heard about - or used - a task-runner like Grunt or Gulp.
Defining TypeScript
In a nutshell TypeScript is a javascript-based kind of language that compiles to JavaScript. TypeScript most important feature is being statically typed, bypassing JavaScript dynamic nature and allowing the development of big, scalable applications more easily.
Defining Webpack
Webpack on the other hand is a library that basically wraps all your JavaScript files inside one file. Besides the concatenation itself he also builds a dependency tree to know what file needs to go first. He is also highly customizable, allowing to define distinct files between your third party dependencies and your app code and also defining what extensions should be used in the process. I assume he does a lot more things than that but I actually don’t know too much about Webpack either, I used the first time a few weeks ago. Oh, two more details. you also can run Webpack inside Grunt/Gulp/Broccoli/whatever script and Webpack also handles CSS files if you want to concatenate your styles.
Setting up environment
We are going to use Atom and the atom-typescript package because reasons.
After you install both Atom and atom-typescript do the following steps:
1- Open a command prompt and run the following command
npm init
This will create a package.json file that will save every npm that you install from now on. Don’t close your prompt just yet, we are going to be using that until the end of this tutorial.
2- Install TypeScript
npm install typescript --save
3- Install TypeScript Webpack loader
npm install ts-loader --save
4- Install DefinitelyTyped
npm install tsd -g
DefinitelyTyped is a package manager for TypeScript definition files. Definition files allows the developer to define the functions of a specific library in a .d.ts file in a similar way that WSDL files do.
5- Install jQuery definition file
tsd install jquery --save
This will activate autocomplete capabilities to the jQuery library functions using TypeScript.
6- Create a tsconfig.json file.
This file is self-explanatory. A TypeScript configuration file. Access tsconfig.json documentation here.
7- Create 2 TypeScript files: app.ts and greeter.ts (this last inside a ts folder).
8- Create a simple index.html to see the result being generated by the app.
9- Create a Webpack configuration file called, you guessed, webpack.config.js.
10- In command prompt, run the command webpack. You are going to see something like this:

11- Run a local server pointing to the folder containing your newly created app. You can use anything that you got at your disposal like a Python local server, a Node local server, a Ruby local server and so on.
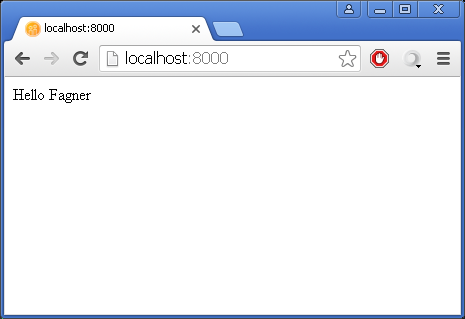
12- Access your favorite browser and see the result.
 Noice.
So, that’s it! You learned how to use TypeScript and Webpack together to build a scalable frontend app. If you want to access the full code linked to this post please clone my TypeScript + Webpack Github repository.